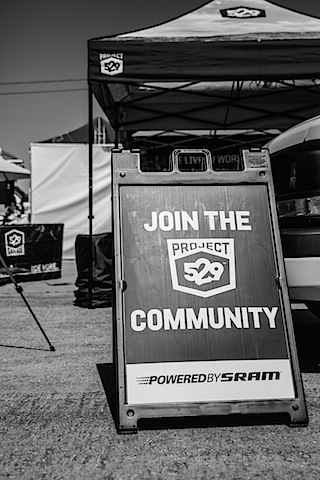
About Me Annoucements Blog Cook and Eat Cookbooks News Travel What I’m doing in my 9 to 5 is Project 529 10 years ago
Annoucements Conferences, Workshops and Classes Still Life With Teaching Photography Online 12 years ago
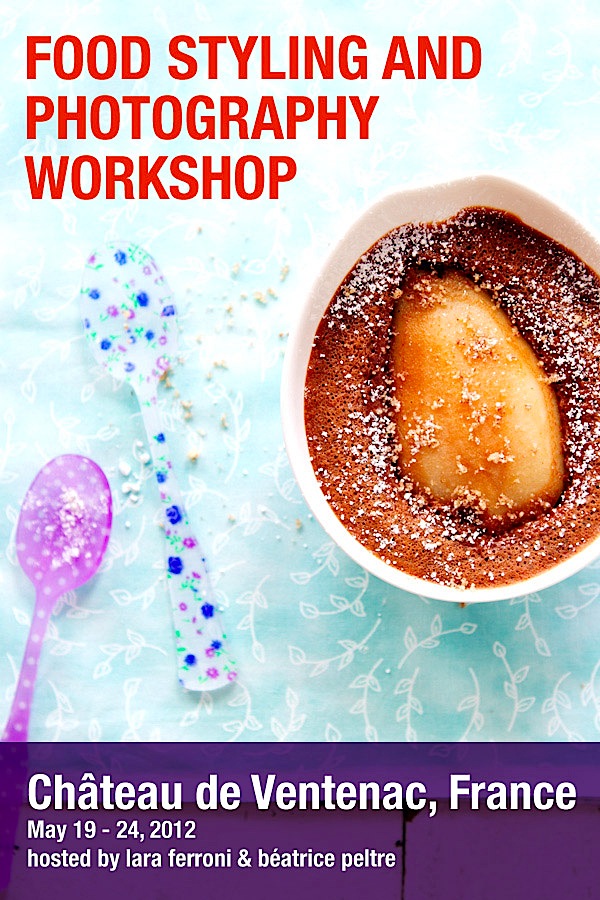
Annoucements Conferences, Workshops and Classes Still Life With Food Styling and Photography Workshop Registration 12 years ago
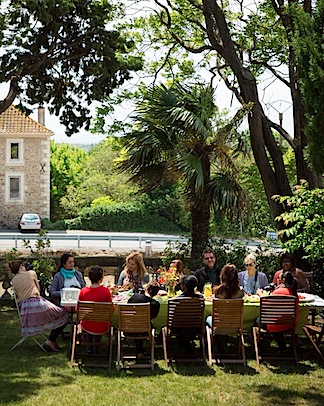
Annoucements Cook and Eat News Still Life With Travel Food Styling and Photography workshop, May 2012 in France 12 years ago
Conferences, Workshops and Classes Still Life With Plate to Pixel and Other Food Photography Resources 13 years ago
Lights and Modifiers Photography Gear Still Life With Still Life With’s 2011 Guide to Food Photography Gear 13 years ago